Introduction to Vapor Barrier Installation
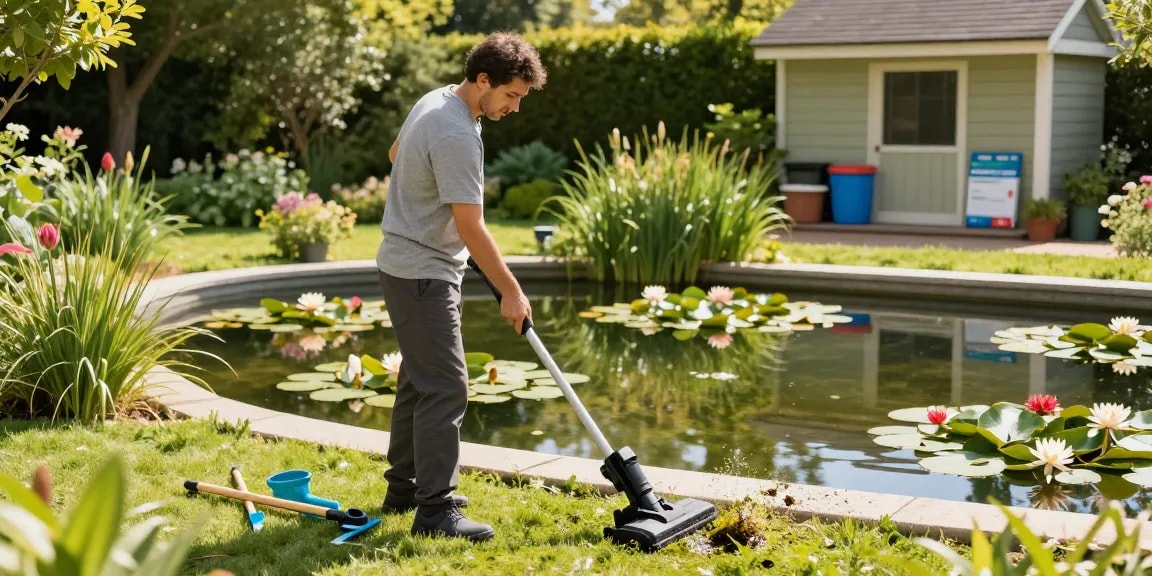
In the realm of home maintenance, few aspects are as crucial yet often overlooked as moisture control, particularly in crawl spaces. A critical component of this control is the Vapor Barrier Installation. This process not only protects the structural integrity of your home but also enhances indoor air quality, reduces energy costs, and prevents the onset of pests and mold.
What is a Vapor Barrier?
A vapor barrier is a material designed to prevent moisture from passing through walls, ceilings, and floors. Commonly made of polyethylene or similar material, these barriers are typically installed in basements and crawl spaces to stop the entry of groundwater vapors from the soil. When properly installed, vapor barriers create a moisture-resistant shield that maintains a drier environment within the home's foundation.
Importance of Vapor Barrier Installation
The installation of a vapor barrier is essential for several reasons. Firstly, it mitigates moisture buildup, which can lead to serious structural damage over time. Additionally, controlling moisture levels helps prevent dust mite infestations, mold growth, and wood rot, which can negatively impact health and comfort. Furthermore, vapor barriers can lead to significant energy savings by reducing heating and cooling costs, as a drier environment allows HVAC systems to operate more efficiently.
Common Types of Vapor Barriers
There are several types of vapor barriers available, each suited to different circumstances:
- Polyethylene sheeting: The most common type, available in various thicknesses and suited for both residential and commercial applications.
- Foil-faced insulation: Offers dual benefits by acting both as an insulator and a vapor barrier, effective for walls and ceilings.
- Liquid-applied membranes: These are sprayed or rolled onto surfaces and provide seamless protection against moisture infiltration.
- Sheet membranes: Thick sheets that are adhered directly to substrates, commonly used in high-humidity areas.
Steps in Vapor Barrier Installation
Preparing the Crawl Space Area
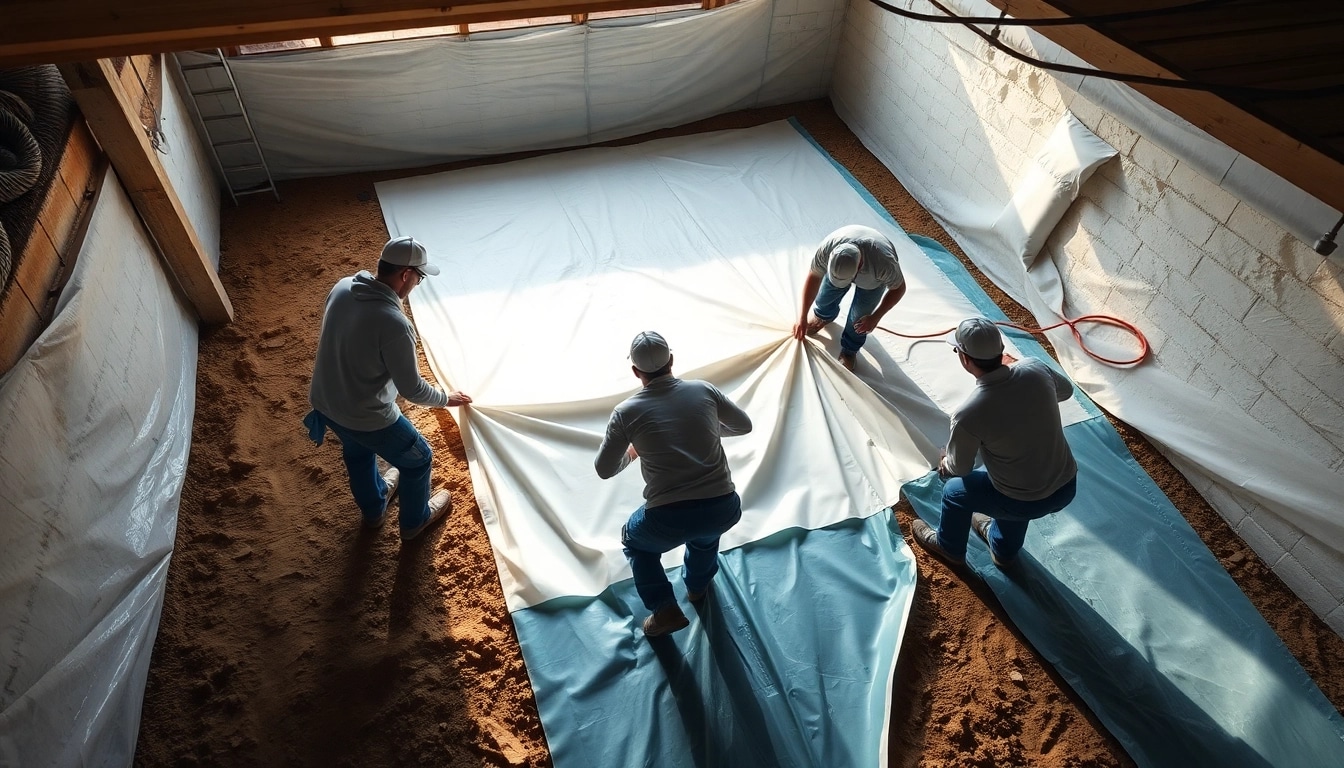
The first step in a successful vapor barrier installation is properly preparing the crawl space. This involves clearing out any debris and ensuring that the area is clean and dry. Inspect the dirt or earth floor for any signs of mold, moisture, or pests. Additionally, if you detect any drainage issues or water pooling, these must be addressed before proceeding. It may be necessary to install a drainage system or sump pump to allow for effective moisture management.
Choosing the Right Materials
When selecting materials for your vapor barrier, consider factors such as thickness, durability, and local building codes. Most experts recommend using at least a 6-mil polyethylene sheeting for standard residential applications. If you anticipate higher moisture levels, thicker options are advisable. Additionally, consider materials that have excellent tensile strength and a suitable UV resistance if the barrier will be exposed.
Installation Techniques and Best Practices
To install the vapor barrier effectively, start by laying the sheets of polyethylene over the entire crawl space floor, overlapping seams by 12 inches for maximum protection. Secure the edges with adhesive or tape specifically designed for vapor barriers. It's also vital to extend the barrier up the walls of the crawl space by at least 6 inches and secure it with tape or fasteners. Lastly, ensure that any penetrations, such as pipes or ducts, are sealed with an appropriate sealant to maintain a continuous barrier against moisture.
Evaluating the Impact of Vapor Barrier Installation
Benefits for Homeowners
Installing a vapor barrier offers multifaceted benefits for homeowners. One critical advantage is damp prevention, which helps protect against costly repairs related to water damage. Moreover, it enhances indoor air quality by reducing pollutants and allergens that can arise from mold and moisture. Additionally, energy efficiency improves as heating and cooling systems work more effectively in a stabilized environment.
Pest and Mold Prevention
Pests love moist environments where they can thrive. By installing a vapor barrier, you significantly reduce moisture levels, making your home less attractive to insects and rodents. Likewise, moisture-controlled environments inhibit mold growth, which is crucial for maintaining good health, particularly for those with respiratory issues or allergies.
Costs vs. Long-Term Savings
While the initial cost of vapor barrier installation can vary based on materials and labor, the long-term savings are substantial. Homeowners may see a significant reduction in energy costs due to improved climate control, alongside potentially avoiding costly repairs related to water damage. With the right vapor barrier in place, homes can maintain their value and structural integrity over time.
Common Challenges in Vapor Barrier Installation
Identifying Moisture Issues
Before installing a vapor barrier, it’s essential to identify existing moisture issues. Simple visual inspections may not reveal underlying problems, so consider conducting moisture readings using a hygrometer for accurate assessments. Consulting with professionals can also help diagnose complicated moisture problems before they turn into larger issues.
Avoiding Common Installation Mistakes
Many DIY installers make common mistakes, such as failing to seal all seams correctly or neglecting to cover the entire ground area. Always follow the manufacturer's guidelines for installation, and ensure that overlaps are taped securely. Taking time to measure and plan your installation can save you from costly mistakes.
Dealing with Groundwater and Drainage
Proper drainage is crucial when installing a vapor barrier. If groundwater consistently pools in your crawl space, this may necessitate the installation of drainage solutions, such as perforated piping or a sump pump, to direct water away from the foundation. Proper management of drainage issues is essential to prevent future moisture problems that could compromise the vapor barrier's effectiveness.
Frequently Asked Questions about Vapor Barrier Installation
How often should I replace my vapor barrier?
Typically, a vapor barrier should last several years; inspect it regularly for wear and tear to determine if replacement is necessary.
Can I install a vapor barrier myself?
Yes, many homeowners can install it with proper research and tools. However, consider professional help for complex settings or moisture problems.
What happens if I don't install a vapor barrier?
Failure to install can lead to moisture issues, mold growth, and expensive structural damage over time due to compromised foundation integrity.
Is a vapor barrier necessary in all climates?
While not necessary in every climate, they are often recommended in humid areas to help control moisture levels and protect structures from damage.
How do I maintain my vapor barrier?
Check for tears or punctures annually. Ensure the area remains dry, and any damages should be repaired immediately to maintain effectiveness.